
Before and after slider for an AI image edit: HTML and CSS, no library
Show an original and its AI edit with a draggable divider using two stacked images, a clip-path and a range input. About 25 lines, no JavaScript framework.
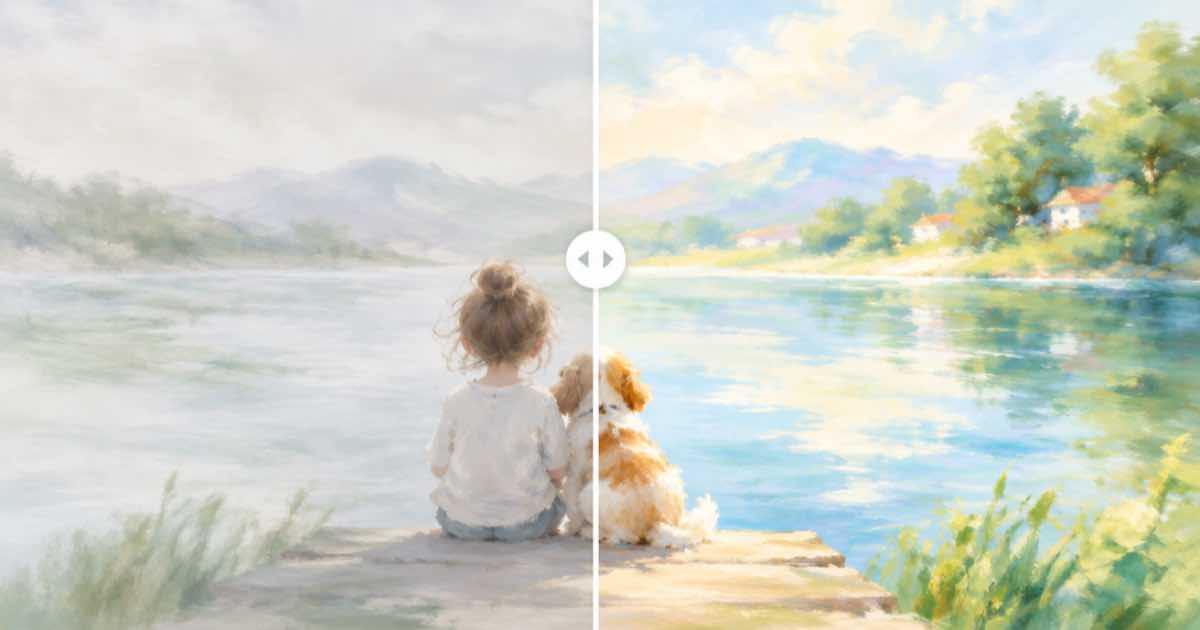
To compare an image with its AI edit, stack the two images in one box, clip the top one with clip-path: inset() and drive the clip from an <input type="range">. Dragging the slider changes one CSS variable, so there is no library, no canvas and the control works with a keyboard because it is a native input. The page below is about 25 lines.
For a before and after to mean anything, both images must have the same dimensions and framing. Edits through Sume's image endpoint with no aspect_ratio set on Ideogram 4.5 keep the source geometry, and other models document their own aspect_ratio behavior in the catalog, so check the output size before you publish a comparison.
What does each part do?
| Part | Job | Notes |
|---|---|---|
Wrapper div | Fixes the box and sets position: relative | Give it the image's aspect ratio |
Bottom img | The edited image | Always fully visible |
Top img | The original | Clipped from the right by --pos |
input range | The control | Native, keyboard-accessible, labelled |
What is the page?
Replace the two file names with your original and the downloaded edit. Add real alt text that describes what changed.
<!doctype html>
<meta charset="utf-8">
<style>
  .cmp { --pos: 50%; position: relative; max-width: 720px; aspect-ratio: 4 / 5; }
  .cmp img { position: absolute; inset: 0; width: 100%; height: 100%; object-fit: cover; }
  .cmp .top { clip-path: inset(0 calc(100% - var(--pos)) 0 0); }
  .cmp input { position: absolute; left: 0; right: 0; bottom: 8px; width: 100%; }
</style>
<div class="cmp" id="c">
  <img src="edited.webp" alt="Product with the new background">
  <img class="top" src="original.webp" alt="Original product photo">
  <input type="range" min="0" max="100" value="50" aria-label="Compare original and edit">
</div>
<script>
  const c = document.getElementById("c");
  c.querySelector("input").addEventListener("input", e => {
    c.style.setProperty("--pos", e.target.value + "%");
  });
</script>
Why a range input and not drag handlers?
A native range input handles touch, mouse and keyboard, exposes its value to assistive technology and needs no pointer math. The only script is one listener that copies the value into a CSS variable. If you want a visible handle, style the thumb with ::-webkit-slider-thumb and ::-moz-range-thumb.
How do I confirm the edit changed the right thing?
Look at it, then measure it. The masked edit check compares pixels outside the mask so you know the slider is showing the change you asked for and not a shifted background. Host both images yourself; do not point the page at a temporary result URL.
Sources
Related posts
More in Use cases
- Best Buy joins TikTok Shop: vertical clips for electronics
Best Buy debuts on TikTok Shop in late October with creator videos. If you sell electronics there too, here is how to make 9:16 product clips with Sume.
- Black Friday ad fatigue: refresh a clip with a new first second
When a Black Friday ad stops converting, keep the footage and change the opening: a new hook, new caption cues and a new music bed, for about $0.30 per refresh.
- Board game trailer: table clips and box art as Gemini Omni references
Use up to 3 short clips (3 s or less each) plus images as references in Gemini Omni Flash 1.1 to make a 10-second board game trailer with native sound.
- Brand color check for AI images: Delta E in Python before publishing
Prompts cannot guarantee a brand hex. Measure the nearest palette color in a generated image with CIE76 Delta E and block misses. Code for Sume output.
Written by Sume