
AI chibi figurine from a photo: one reference edit, four takes
Turn a portrait into a glossy chibi figurine render with one reference edit on gpt-image-2.5, four takes per call, and a plain background for the cutout.
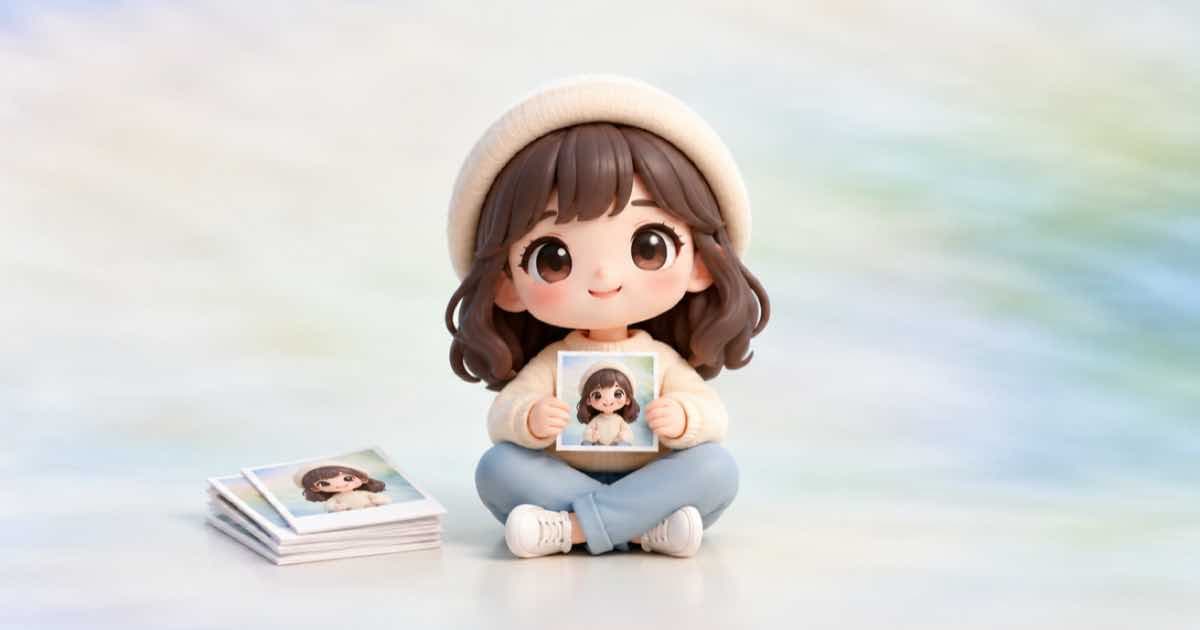
A chibi figurine from a photo is one reference edit: openai/gpt-image-2.5, the portrait in input_references, a prompt that names the proportions and the finish, and n: 4 so you can choose the best of four. Ask for an opaque, plain backdrop for the first pass and make the transparent cutout in a second step.
Four takes per call is a request, not a promise: Sume's Image API lists an n range per model, up to 10 per call at most, and a request above the model's ceiling is rejected. Read the range from GET /v1/images/models before you set it.
Prompt shape
Name what must carry over from the photo (hair colour, glasses, clothing colours) and what changes (head-to-body ratio, material). Keep the pose simple; hands and held objects are where figurine renders usually need a retake.
- Carry over: hair, glasses, outfit colours from the reference.
- Change: oversized head, small body, glossy vinyl finish.
- Scene: a plain light-grey seamless backdrop, soft shadow under the feet.
- Leave out: any text on the base, which you can add in code.
Cutout in a second pass
For a sticker or a shop listing you want transparency. gpt-image-2.5 accepts background: auto|transparent|opaque, so once you have picked a take you can re-run the same prompt with background: "transparent" and the picked image as the reference. Keep it as a second call: the first call is for choosing, the second is for the asset.
{
  "model": "openai/gpt-image-2.5",
  "prompt": "Same chibi vinyl figurine as the reference, same pose and colours, nothing behind it",
  "input_references": [
    {"type": "image_url", "image_url": {"url": "https://example.com/picked-take.png"}}
  ],
  "background": "transparent",
  "aspect_ratio": "auto",
  "output_format": "png"
}
What the two calls use
| Pass | Goal | Key fields |
|---|---|---|
| 1 | Choose a take | input_references, aspect_ratio auto, n up to the model range |
| 2 | Asset with no backdrop | background transparent, output_format png, picked take as reference |
Hosting the picked take
Results come back as Sume-hosted URLs, and the Media inputs doc says signed or private URLs are rejected as inputs. Copy the picked take to a public HTTPS location of your own before you use it as the second reference. Check the status code on each call: 200 is the image response and 202 is the job envelope you poll through Jobs and results.
Sources
Related posts
More in Use cases
- AI worksheet clip art set: 12 transparent PNGs for $3.37 at xhigh list
Twelve transparent clip-art items, three takes each, is 36 images: $3.37176 at gpt-image-2.5's xhigh list estimate of $0.09366, before Sume pricing.
- AI coaster set: four designs in one call, circle-cropped in Pillow
Generate a four-design coaster set with n=4 at 1:1, then crop each to a circle with a Pillow mask. Request, crop code and a bleed note, with the cost to check.
- AI coat of arms or crest as a transparent PNG, with alpha check
Generate a family crest or team badge as a transparent PNG with gpt-image-2.5's background parameter, then verify the alpha channel before it goes on merch.
- AI cross-stitch pattern: generate art, then grid and count in Pillow
Turn an AI image into a cross-stitch chart: generate simple art, shrink it to a stitch grid, cut to N colours and count stitches per colour with Pillow code.
Written by Sume