
Remove the photographer's reflection from a window photo: masked edit
Remove your own reflection from a shop window photo: mask it and send a gpt-image-2.5 edit with mask_url, $0.0094 to $0.0835 per image on Sume. Checks inside.
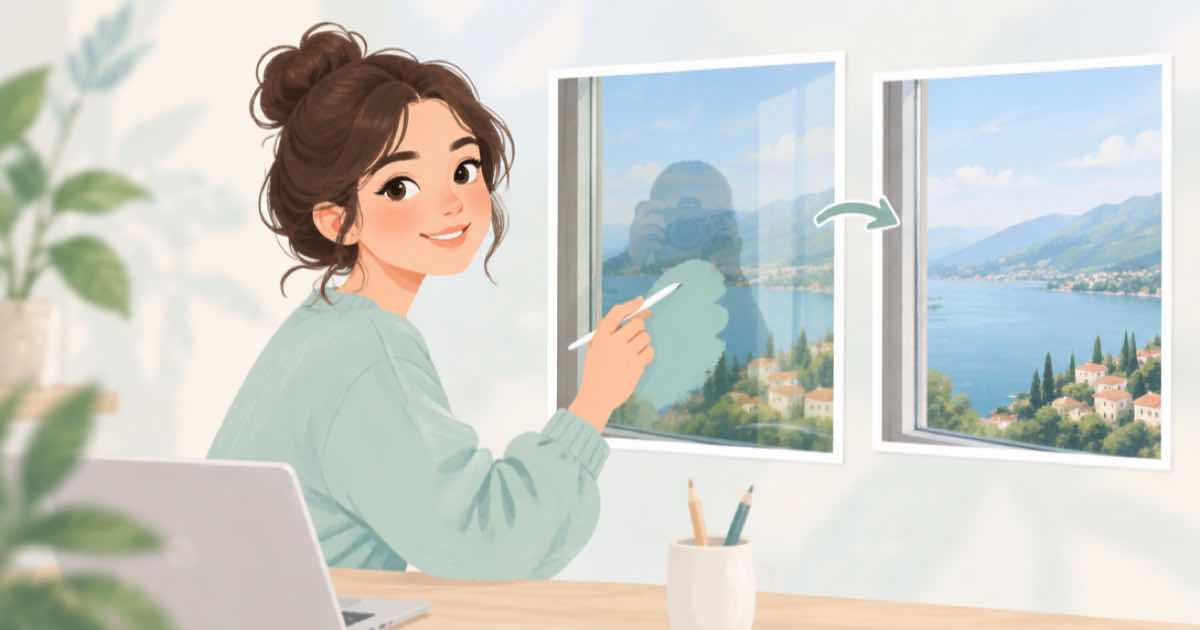
To remove a photographer's reflection from a window photo, mask the reflection and send one edit to openai/gpt-image-2.5 with mask_url, asking the model to continue what is behind the glass. On Sume that edit costs $0.009375 at low, $0.021 at medium and $0.0835 at high for a 1024x1024 image with one input image. Of the Sume image models, only ChatGPT Image 2.5 accepts mask_url.
Reflections are a hard case because the edit has to invent what is behind the glass. This post covers how to mask it, how to word the prompt, and why shooting differently is still the cheapest fix.
Mask the reflection, not the window
The mask should cover the dark shape of the reflection and a small margin, and nothing else. A mask over the entire window invites the model to redraw the shop display, which is the part you wanted to keep. If you have a hand, a camera or a coat visible in the glass, include the edges of those shapes, where the reflection is brightest.
The Sume docs describe mask_url as a public HTTPS URL for ChatGPT Image 2.5 edits, and do not state the colour convention. Make a test mask, run a low edit, and see which side the model changes before you do any real work.
Describe what is behind the glass
Tell the model what the interior shows: the shelves continue, the same lighting, a plain wall on the left. If you do not know, look at the neighbouring windows. Add that the glass stays glass, with its existing highlights and frame, so the model does not turn the window into an open doorway.
curl -X POST https://api.sume.com/v1/images \
  -H "Authorization: Bearer $SUME_API_KEY" \
  -H "Content-Type: application/json" \
  -d '{
    "model": "openai/gpt-image-2.5",
    "prompt": "Remove the reflection of the photographer inside the mask. Continue the shop interior behind the glass: shelves and warm lighting. Keep the glass, frame and highlights outside the mask unchanged.",
    "input_references": [
      {"type": "image_url", "image_url": {"url": "https://example.com/shop-window.jpg"}}
    ],
    "mask_url": "https://example.com/reflection-mask.png",
    "aspect_ratio": "auto",
    "quality": "medium"
  }'
Cost of getting it right
Window reflections often take more than one try. Plan for a few attempts at low and medium and a final at high.
| Quality | Per attempt | Three attempts |
|---|---|---|
| low | $0.009375 | $0.028125 |
| medium | $0.021 | $0.063 |
| high | $0.0835 | $0.2505 |
Better: avoid the reflection when you shoot
A polarising filter cuts glass reflections, shooting at an angle moves your reflection out of the frame, and shooting at dusk with the interior lit makes the reflection fainter. Dark clothing and holding the lens close to the glass also help. Any of these is cheaper than an edit. Use the edit for photos you cannot reshoot.
After an edit, diff against the original and look outside the mask. Window frames and mullions are straight lines, and a model that redraws one introduces a bend that is easy to see on a building.
Also consider a second pass for stubborn cases: if a faint ghost of the reflection remains after the first edit, make a smaller mask around only the remaining shape and run a low edit on the result. Small targeted masks tend to behave better than one large one, and each pass at low costs under a cent.
A practical order of work
First, decide whether the photo is worth an edit. If the reflection is small and the window is a minor part of the frame, a crop may remove it for free. If the reflection covers a key area, such as the middle of a shop display, plan an edit.
Second, make the mask and run one low attempt. Look at where the change landed, and fix the mask if it leaked. Third, run medium attempts until the interior looks plausible, then one high for the final image. Keep the attempts and their URLs so you can go back to an earlier one.
Fourth, check the result at full size and against the original. Compare the glass edges, the signs in the window and the frame lines. If your photo is for a client, tell them the interior behind the glass was generated, since it is not a true record of the shop.
Sources
Related posts
More in Use cases
- Replace a dull sky in a property photo: mask only the sky
Swap a grey sky for blue in a property photo: build a sky mask in Pillow and send a mask_url edit to gpt-image-2.5. $0.021 at medium, $2.10 for 100 photos.
- Replace an old logo on 40 product photos with Ideogram 4.5
Rebrand 40 product photos: send each photo plus the new logo as a second reference to ideogram/ideogram-v4.5. Cost on Sume: $1.50 at low, $3 at medium.
- How do I make a Thanksgiving takeout menu video for my restaurant?
Animate two of your own food photos with Gemini Omni Flash 1.1, add a 380-character voiceover and burn the order-by date in: $1.945 on Sume, in 12 seconds.
- How do I make school morning announcements audio with an AI voice?
A 1,500-character daily announcement is 8 cents on Sume TTS, about $14.40 for 180 school days. How to template the script, add Spanish and keep it short.
Written by Sume