
AI airport sign photos: set arrows and words in code, not the model
Image models still bend arrows and misspell wayfinding text. Generate a sign with no text, then set the exact arrows and words in Pillow. Runnable script.
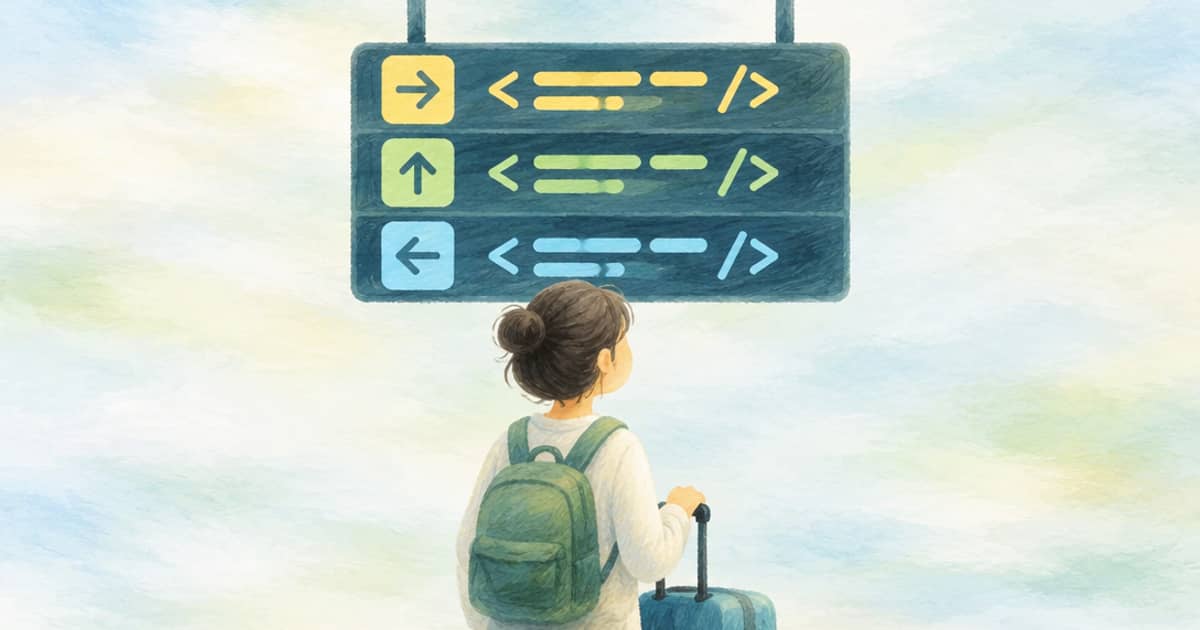
For a sign whose arrows and words must be exactly right, generate the sign blank and set the type in code. Directional signage fails in a specific way: the model gets the look of the sign right and the content wrong, with an arrow pointing the wrong way or a word that is almost a word. A script that draws the arrows and text over a text-free sign makes them correct every time.
This matters for the bounding-box layouts BFL advertises for FLUX 3 Image, because a box tells a model where something goes, not what the letters are. Sume does not have box input, so the same split, geometry from you and pixels from the model, is the reliable approach.
The two-step method
First, ask for a sign with a clean surface and no writing: a blue overhead sign hanging in a terminal, three empty bands, nothing printed. State "no text, no arrows, no symbols" in the prompt. Second, draw each row yourself with an arrow polygon and a label at known coordinates.
Use a text-capable model if you do want the model to write words, such as the ones in the text-in-images comparison, but verify the text by eye. Code is the way to guarantee it.
| Element | Who sets it | Reason |
|---|---|---|
| Sign surface, lighting, perspective | Model | Needs photographic realism |
| Arrow direction | Code | A polygon cannot point the wrong way |
| Wording and numbers | Code | Exact strings, no misspelling |
| Font | Code | Consistent across a series |
The script
add_sign_row takes a y position, an arrow direction and a label, draws the arrow as a white triangle and the label in a bold font. The demo draws on a blue rectangle that stands in for the blank sign the model returns. For a real photo, run it on the image in its flat frontal view; a sign shot at an angle needs a perspective transform, which is a separate step.
from PIL import Image, ImageDraw, ImageFont

def font(size):
    for name in ("DejaVuSans-Bold.ttf", "Arial Bold.ttf", "Arial.ttf"):
        try:
            return ImageFont.truetype(name, size)
        except OSError:
            continue
    return ImageFont.load_default()

def add_sign_row(img, y, arrow, label, x=80, height=120, color=(255, 255, 255)):
    d = ImageDraw.Draw(img)
    mid = y + height // 2
    if arrow == "left":
        d.polygon([(x, mid), (x + 70, mid - 50), (x + 70, mid + 50)], fill=color)
    else:
        d.polygon([(x + 70, mid), (x, mid - 50), (x, mid + 50)], fill=color)
    d.text((x + 120, mid), label, font=font(72), fill=color, anchor="lm")

if __name__ == "__main__":
    sign = Image.new("RGB", (1200, 700), (20, 70, 140))     # stand-in for the text-free sign from the model
    for i, (arrow, label) in enumerate([("left", "Gates 1-12"), ("right", "Baggage Claim"), ("right", "Exit")]):
        add_sign_row(sign, 90 + i * 190, arrow, label)
    sign.save("sign.png")
    print(sign.size)
Why not just prompt the words
Sometimes you can. A short, high-contrast word like EXIT is within reach of a text-capable model, and a prompt that names the exact string often works. Wayfinding is the harder case because it combines several strings, numbers like gate ranges, and arrows whose direction carries meaning. One wrong glyph in a row is easy to miss on a quick look and expensive to find after print.
The code route gives you a way to test: you know what the strings were, so a reviewer checks a list against the sign instead of re-reading pixels. It also lets you re-run the same sign in ten languages by swapping the labels, with the model-generated surface unchanged.
Limits
Drawing onto a flat image only works when the sign is flat in frame. For an angled sign, ask the model for a front-on shot, draw the type, then place the result into a scene as a second edit with a mask, as in the layout reference approach. Fonts differ by machine; the script tries a few names and falls back to a default, so ship a font file for real work.
The generation step follows Sume's Image API docs: send a prompt, read the hosted URL, download it and keep your own copy.
Sources
Related posts
More in Use cases
- AI app icon via API: generate 1:1, add a transparent option, resize
App icon art from the Sume image API: 1:1 text-free art, ChatGPT Image 2.5 for a transparent background, and a Pillow loop that exports the sizes you need.
- AI architecture concept render from a sketch via API on Sume
Turn a massing sketch or photo of a model into a concept render: reference edit rows on Sume from $0.025, 16:9 framing, and why you should label it a concept.
- AI avatar mock interview: live interviewer or question clips
Tavus lists an Interviewer PAL as a live use case. Sume can render each interview question as a short avatar clip with a thinking pause. Where each one fits.
- AI avatar of a real person: release checklist before the photo
Before you turn an employee's or creator's photo into a Sume avatar, get a written release. A checklist for scope, term and revocation, matched to the API.
Written by Sume